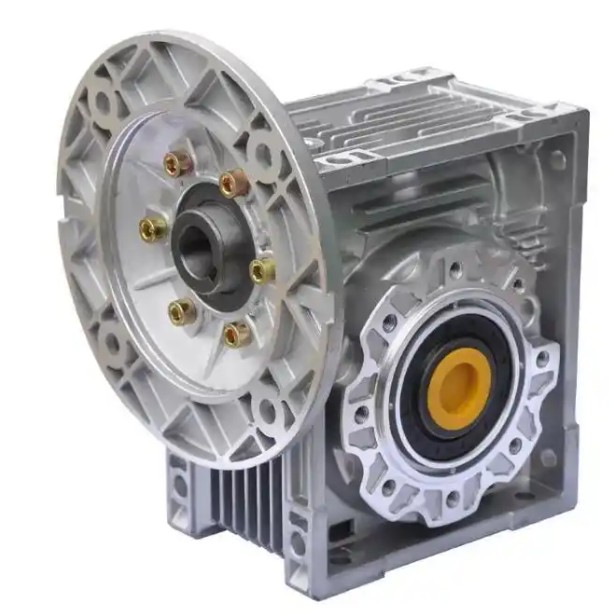
How to check the flatness of the box when dealing with oil leakage on the joint surface of the NMRV075-30-1.5-B6 reducer box
The key to checking the flatness of the gearbox body and box surface lies in using the right tools and selecting the right methods. The specific steps and key points are as follows:
1、 Preparation before inspection
Cleaning and preparation: Thoroughly clean the box surface, remove oil stains, old sealant, and impurities, and ensure accurate measurement standards.
Tool selection:
Basic inspection: A combination of a spirit level, ruler, and feeler gauge can be used.
High precision inspection: It is recommended to use a flatness inspection instrument (such as MC002-1401 type) with an accuracy of up to 1 arcsecond, which is suitable for precision inspection.

Environmental requirements: Measurements should be conducted in a stable environment with sufficient light and no vibration.
2、 Specific inspection steps
Preliminary visual and tactile inspection: After cleaning, visually observe whether there are obvious scratches, protrusions, or deformed areas on the joint surface to preliminarily determine the scope of the problem.
Measure with a spirit level:
Place the spirit level at different positions on the box surface (such as diagonal and center point).
Observe the position of the bubble. If it deviates from the center, it indicates that there is a height difference at that point.
Measure with ruler and feeler gauge:
Attach the precision ruler to the surface of the box.
Measure the maximum gap between the ruler and the surface with a feeler gauge, and this value is the local flatness error.
Use a flatness tester to measure:
Place the instrument on the box surface and adjust it to a horizontal position.
Observe the bright crosshairs in the dark field through the eyepiece, and move the instrument to measure the error values at different points.
The instrument can directly display the flatness error value, with high accuracy and convenient operation.
3、 Result determination and processing
Judgment criteria: According to the "Quality Standards for Maintenance of Coal Mine Mechanical and Electrical Equipment", the allowable deviation of the flatness of the joint surface of the reducer box shall not exceed 0.05mm. If the measured value exceeds this standard, repair is required.
Repair method:
Minor deformation (≤ 0.05mm): Repair by scraping and grinding method, using a flat plate to grind the joint surface until the contact area is ≥ 80%.
Severe deformation (>0.05mm): Precision milling with a milling machine is required to ensure a flatness of ≤ 0.05mm/m.
Re inspection: After repair, re measurement is required to ensure that the flatness meets the standard.

