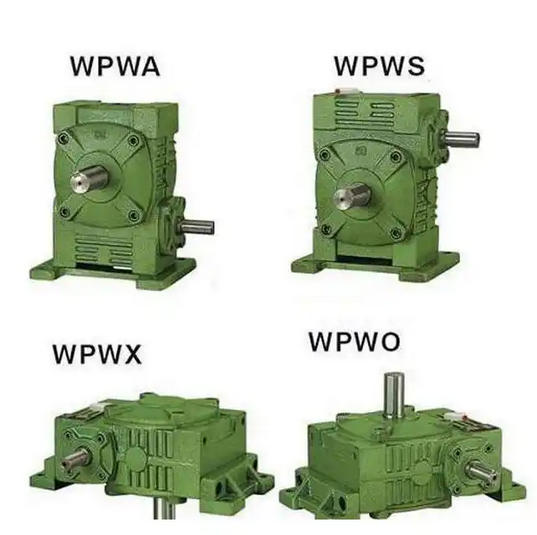
How to determine if the worm gear of WPWA155-50-B reducer is aligned with the teeth
To determine whether the worm gear of WPWA155-50-B reducer is aligned with the teeth (i.e. whether the meshing state is normal), the following comprehensive inspection methods should be used:
1、 Appearance and contact mark inspection
Red Dan Powder Coloring Method
Normal state: The contact area should be located in the middle of the tooth surface (near the pitch circle), with an area of ≥ 70% and evenly distributed.
Abnormal expression: If the contact area is biased towards the tooth tip or root, or distributed in a strip/point shape, it indicates a deviation in the coaxiality of the axis or uneven wear on the tooth surface.
Apply red lead powder to the surface of the worm gear teeth, manually rotate the worm and observe the contact spots:

Observation of tooth surface damage
Check whether there are scratches, adhesive (molten spots) or pitting (pits) on the tooth surface of the worm gear (copper alloy), and whether the tooth surface of the worm gear (steel) is polished or dented.
2、 Running status monitoring
Noise and vibration
During normal operation, there is a uniform "rustling sound". If there is a periodic "clicking" sound or vibration amplitude>1.5mm/s (normal ≤ 0.8mm/s), it indicates abnormal meshing clearance or inaccurate tooth alignment.
Temperature rise and efficiency
Oil temperature>80 ℃ or a decrease in transmission efficiency (such as output speed below 90% of rated value) may be caused by increased tooth friction.
3、 Precision measurement and adjustment
Mesh clearance detection
Measure the normal lateral clearance using a feeler gauge, with a standard value of 0.1-0.3mm. If it exceeds the design value by 50% (such as>0.45mm), the center distance needs to be adjusted or the component needs to be replaced.
Axis coaxiality correction
By using a dial gauge to detect the deviation of the worm and worm gear axis, the radial runout should be ≤ 0.05mm, otherwise the position of the bearing seat needs to be adjusted.
4、 Professional equipment assistance
The gear measurement center scans the tooth profile deviation, or uses CALYPSO software to analyze the single tooth wear curve and quantitatively evaluate the meshing accuracy.

