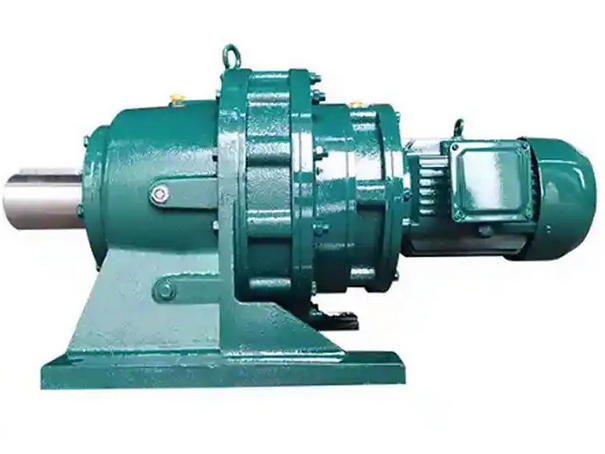
What methods can be used to verify whether the concentricity adjustment of XWED-74-121-4 cycloidal pinwheel reducer is qualified
Here are some methods to verify whether the concentricity adjustment of XWED-74-121-4 cycloidal pinwheel reducer is qualified:
Dial gauge measurement method: Fix the magnetic gauge holder on the reducer shaft or motor shaft, and place the gauge head against the outer circular surface (radial) or end surface (axial) of the central axis. Manually rotate the shaft 360 ° and record the difference between the maximum and minimum readings on the dial gauge. For high-precision scenarios, a radial centering reading difference of ≤ 0.05mm is considered qualified.

Feeler gauge detection method: Take 4 points evenly around the coupling or shaft, namely 0 °, 90 °, 180 °, and 270 °, and use a feeler gauge to measure the radial clearance between the shaft and the support bearing hole or coupling, as well as the axial clearance of the end face. If the coaxiality error requirement is ≤ 0.1mm and the gap difference between each point is ≤ 0.1mm, it is considered qualified.
Laser alignment instrument detection method: Install the laser emitter on one end shaft of the coupling and the receiver on the other end shaft. Rotate the shaft, and the laser alignment instrument will display angle error and radial error. The qualification standards for different devices may vary. Generally, the radial deviation can be controlled within 0.05mm and the angular deviation ≤ 0.1 °.
Operation observation method: During the trial operation of the reducer, the concentricity is judged by observing the operating status of the equipment. If the concentricity adjustment is qualified, the reducer should run smoothly, without abnormal vibration and noise, and the torque output should be normal. If there is abnormal vibration, loud noise, or unstable torque output, there may be a problem with concentricity and further inspection and adjustment are needed.
Gear contact area detection method: indirectly determine concentricity by checking the contact condition of the gears inside the reducer. If the concentricity is qualified, the contact area along the tooth height direction should be ≥ 45%, and along the tooth length direction should be ≥ 60%.

