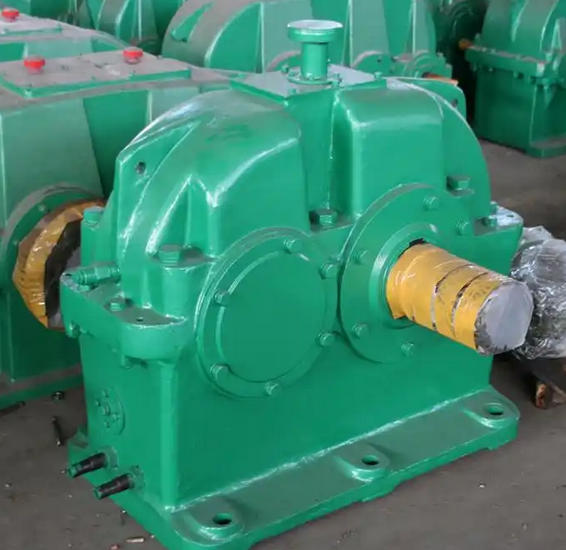
How to regularly check the levelness of the motor and ZDY250-5.6-1 reducer
Regular inspections should follow the principle of "fixed cycle+standard process+precise detection", with a focus on monitoring the levelness of the base and axis, while simultaneously checking the coaxiality in conjunction to avoid cumulative deviation affecting the transmission.
1、 Determine the inspection cycle
Daily inspection, once a week, quickly checks for vibration and abnormal noise during equipment operation, indirectly determining whether the levelness is abnormal.
Regular precision inspection, once every 3 months. After shutdown, use professional tools to accurately detect the level, suitable for continuous operation.
After special re inspection, equipment overhaul, relocation, or replacement of couplings/shims, a full level inspection must be conducted immediately.

2、 Preparation before inspection
Shutdown and power off, ensure that the equipment is completely stationary, and avoid operational safety risks.
Clean the detection surface, wipe off the oil and dust on the motor, reducer base, and shaft end, and ensure that the contact surface of the level is smooth.
Prepare all necessary tools, including a 0.02mm/m precision frame level, electronic level, feeler gauge, and torque wrench, to ensure effective tool calibration.
3、 Specific inspection steps
Check the levelness of the reducer, place the level gauge on the longitudinal and transverse planes of the reducer base and the input shaft end face, and record the bubble offset or digital display deviation value.
Check the levelness of the motor, measure the longitudinal and transverse directions of the motor base and the end face of the output shaft in the same way, and compare the levelness data of the reducer.
Check the coaxiality of the linkage by measuring the clearance between the coupling with a feeler gauge. A clearance difference of ≤ 0.1mm is considered qualified to avoid excessive coaxiality caused by horizontal deviation.
Record data, compare historical detection results, and determine whether the deviation shows a cumulative trend. If the deviation exceeds 0.05mm/m, it should be adjusted in a timely manner.
4、 Key points for handling exceptions
If the horizontal deviation exceeds the standard, first check whether the anchor bolts are loose, tighten them with a torque wrench according to the specified torque, and then retest.
If there is still deviation after tightening, adjust the height of the low side equipment first by adding or removing shims or thin steel plates to avoid forced correction that may cause component deformation.
After adjustment, a no-load test should be conducted to confirm that there is no vibration or abnormal noise. The levelness should be rechecked to ensure stability and compliance.

