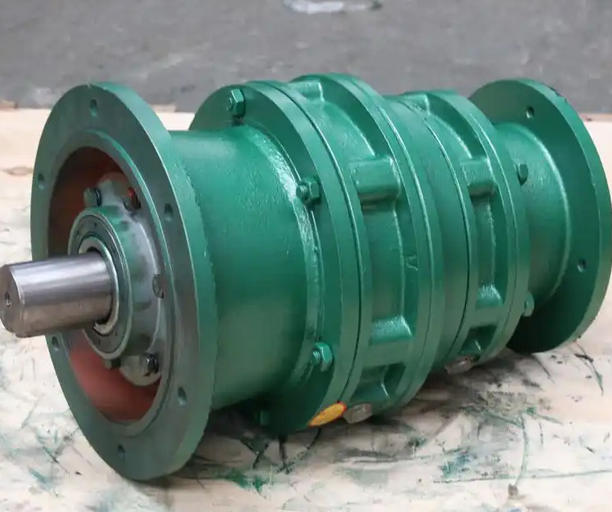
How to correctly install the new XLED85-3481-1.1KW reducer cycloidal gear and needle gear housing
The correct installation of the cycloidal gear and needle gear housing of this model reducer requires precise alignment, smooth assembly, compliant clearance, and secure fastening to avoid component damage and transmission failures. The steps are as follows:
1. Preparation before installation
Confirm that the new part model matches the reducer, that there are no cracks or deformations in the cycloidal gear and needle gear housing, and that the needle gear and needle gear sleeve are securely installed.
Thoroughly clean all mating surfaces (such as the inner hole of the cycloidal gear, the inner circle of the needle gear housing, and the shoulder of the output shaft), remove oil stains, iron filings, and impurities. If necessary, wipe them with cleaning agent and let them dry.
Prepare compliance tools: Allen wrench, copper rod, rubber hammer, plug gauge, torque wrench, ensure that the tools are intact and match the specifications.
Apply a small amount of gearbox specific lubricating grease on the mating surface (such as the inner hole of the cycloidal gear and the surface of the needle teeth) to reduce assembly friction and protect the surface of the parts.
2. Installation of needle gear housing
Place the needle housing smoothly into the gearbox housing, ensuring that the positioning step of the needle housing is in place with the housing, without any deviation or inclination.
If there are fixed bolts on the needle tooth housing, first manually screw in the bolts for positioning, and then gradually tighten them evenly in 2-3 times along the circumference to avoid local stress causing deformation of the needle tooth housing.
Check that there is no looseness in the installation of the needle teeth housing, and that the rotating needle teeth are flexible without jamming. There is no risk of the needle teeth sleeve falling off.
3. Installation of cycloidal gear
Check the phase mark of the cycloidal gear (if any) to ensure that it is in phase with the eccentric sleeve of the input shaft, and avoid meshing misalignment.
Hold the cycloid wheel with both hands, smoothly align it with the inner circle of the needle gear housing and the output shaft spline (or flat key), slowly push in, and prohibit hard hitting or pressing.
If the assembly is too tight, lightly tap the end face of the cycloid gear (corresponding to the non tooth surface area) with a copper rod to assist in pushing in, with even force to avoid damage to the tooth surface.
After installation, manually rotate the cycloid wheel smoothly without any jamming or obvious looseness, and there should be no abnormal resistance in meshing.
4. Gap inspection and adjustment
Measure the radial clearance at four uniform points along the circumference of the needle tooth housing with a feeler gauge, ensuring that the clearance is within the manufacturer's specified range (usually 0.05-0.15mm, according to the manual).
If the gap is too large, an adjusting shim (special specification) can be added; If it is too small, reduce the number of gaskets or check if there are impurities on the mating surface. Forced assembly is strictly prohibited.
Ensure that the gap deviation between each point does not exceed 0.05mm to avoid uneven meshing that may lead to increased wear in the later stage.
5. Closing fastening and verification
According to the manufacturer's specified torque, use a torque wrench to tighten all fixing bolts (end caps, casing, needle toothed casing bolts, etc.) and make fastening marks.
Install seals and dust seals to ensure proper sealing and prevent oil leakage in the future.
Manually rotate the output shaft to confirm that the overall transmission is smooth and free of jamming; During the trial operation, if there are no abnormal noises or vibrations observed, and the motor current is stable, the installation is considered qualified