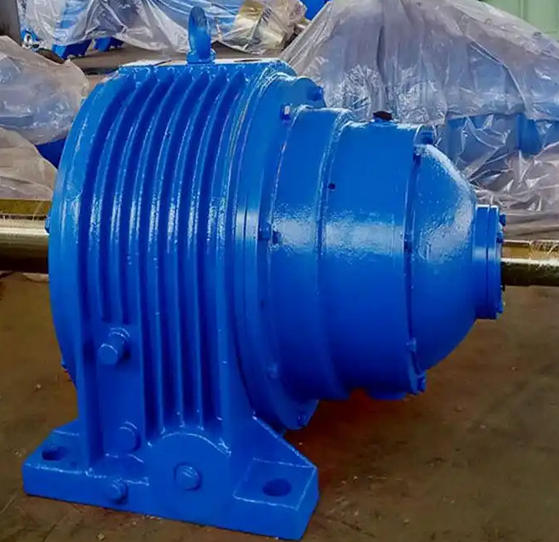
How to perform performance verification after cracking repair of NGW31-11-9 planetary gear reducer base
The performance verification of the NGW31-11-9 planetary gear reducer base after cracking repair is to confirm that the strength of the repaired area meets the standard, the equipment runs stably, and there is no crack recurrence or functional abnormality. It needs to be completed through three steps: "static testing+dynamic testing+load verification".
1. Static performance verification (performed after repair to eliminate basic defects)
Appearance and dimension inspection: Check and repair the parts (welds, inserts, etc.) for porosity, slag inclusion, incomplete penetration, and a smooth surface without deformation; Measure the dimensional tolerances and flatness of the key mating surfaces (bearing seat holes, installation surfaces) of the machine base using calipers and rulers, which must comply with the requirements of the original equipment drawings (deviation ≤ 0.03mm/m).

Non destructive testing: Conduct penetration testing (PT) or ultrasonic testing (UT) again on the repaired area and surrounding stress concentration areas to confirm the absence of hidden cracks, good fusion of welds, and no unfilled defects inside.
Assembly accuracy verification: When assembling transmission components (gears, bearings, shafts), check the coaxiality of the shaft (deviation ≤ 0.02mm), bearing clearance (in accordance with equipment standards), and ensure that the machine base is tightly fitted to the end cover and installation surface without looseness or gaps.
2. Dynamic no-load test (preliminary verification of operational stability)
No load start: Start the reducer according to the equipment operating procedures, run continuously without load for 2-4 hours, and monitor the temperature rise of the repaired parts of the machine base (maximum temperature ≤ 60 ℃, temperature difference from normal parts ≤ 10 ℃).
Vibration monitoring: Use a vibration detector to measure the effective value of vibration velocity at the bearing seat of the machine base, which should be ≤ 4.5mm/s (rigid support) or ≤ 7.1mm/s (flexible support), and there should be no abnormal vibration peak.
Abnormal noise and leakage inspection: There is no obvious abnormal noise during operation (such as welding seam vibration noise, component friction noise), and there is no lubricating oil leakage at the repaired and sealed parts.
3. Rated load verification (core verification of bearing capacity)
Gradual loading: Starting from 50% of the rated load, increase the load by 25% every 30 minutes, and finally reach 100% of the rated load. Run continuously for 8-12 hours (heavy load conditions can be extended to 24 hours).
Key parameter monitoring: Real time recording of vibration values (no significant increase, stable within normal range), temperature rise (machine base surface temperature ≤ 70 ℃), current values (no overload fluctuations), and repair parts without deformation or abnormal noise.
Shutdown re inspection: After the load operation is completed, the machine is stopped and cooled to room temperature. The appearance of the repaired area is checked again, and non-destructive testing is used to confirm that no new cracks have appeared; Tighten the anchor bolts and check that there is no change in the fit between the machine base and the installation surface.

