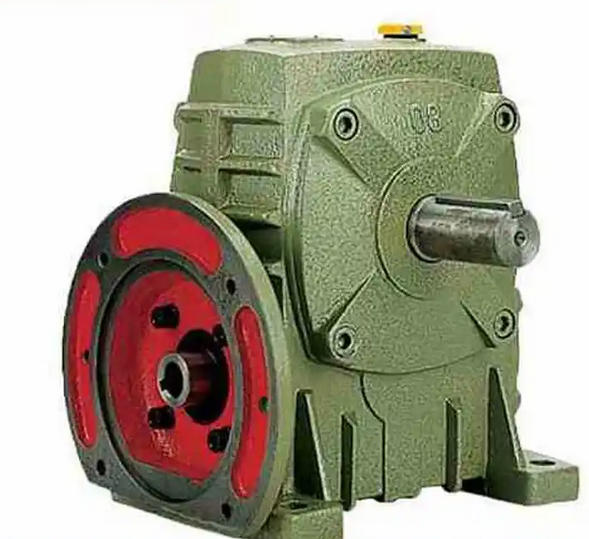
How to avoid affecting the worm gear when replacing the seal of WPDA250-30-A reducer
When replacing the sealing components of the WPDA250-30-A gearbox, it is necessary to follow three key points: standardizing the operating procedures, protecting the core transmission components, and controlling the disassembly and assembly accuracy, in order to avoid abnormal meshing of the worm gear caused by external collision, position deviation, or contamination. The specific measures are as follows:
1、 Dismantling stage: precise operation to avoid touching the worm gear body
Clearly define the position of the seal and limit the operating range
The sealing components of this type of reducer are mainly distributed at the input/output shaft end (skeleton oil seal), the housing joint surface (O-ring or sealant), and the bearing end cover and housing joint surface (sealing ring). When disassembling, only the bolts and end caps of these parts should be operated. It is strictly prohibited to disassemble the bearing seat, positioning gasket or locking nut of the worm gear shaft and worm gear shaft - these components are directly related to the center distance and meshing clearance of the worm gear, and unnecessary disassembly will cause positional deviation.
Avoid excessive force or misoperation when using tools

When disassembling the end cap bolts, use a matching socket wrench (to avoid slipping the adjustable wrench) and gradually loosen them in diagonal order to prevent the end cap from getting stuck or causing the shaft system to shift due to uneven force;
When extracting the old oil seal, use a specialized oil seal screwdriver to evenly apply force from the side. Do not use a straight screwdriver to forcefully pry the shaft neck or inner wall of the end cover, to avoid tool slipping and hitting the worm gear, worm gear tooth surface, or scratching the shaft neck, which may cause subsequent assembly deviation;
If the end cap is too tightly attached to the shell, a rubber hammer can be used to evenly tap along the edge of the end cap (it is forbidden to directly tap the shaft end or bearing seat), and the joint surface can be loosened by vibration to avoid deformation of the shell caused by brute force prying and affecting the internal transmission components.
Isolate and protect the worm gear, worm gear, and lubricating oil circuit
During the disassembly process, cover a clean oil resistant plastic cloth or non-woven fabric above the worm gear inside the reducer to prevent metal debris and dust generated during disassembly from falling into the meshing area or lubricating oil chamber;
If you need to pour out old oil, prepare a special container in advance to avoid oil contamination of the worm gear teeth surface (clean lubricating oil should be used to rinse the teeth surface before subsequent assembly to remove possible impurities).
2、 Assembly stage: Control accuracy to prevent displacement of transmission components
The installation of sealing components does not interfere with the positioning of the shaft system
When installing the shaft end oil seal, use a special guide sleeve (with the same diameter as the shaft neck) to ensure that the oil seal is pressed vertically, avoiding installation tilt and force displacement of the shaft system. During the pressing process, hold the shaft end with your hand and feel if there is any abnormal resistance. If there is any jamming, stop immediately and check if the oil seal is skewed to prevent the shaft from being pushed and causing displacement of the worm or worm gear shaft;
When installing the sealing element (O-ring or sealant) on the shell joint surface, ensure that the sealing element is completely embedded in the groove, without protrusions or distortions, to avoid misalignment of the shell joint surface caused by compression of the sealing element during assembly, which indirectly changes the center distance of the worm gear.

