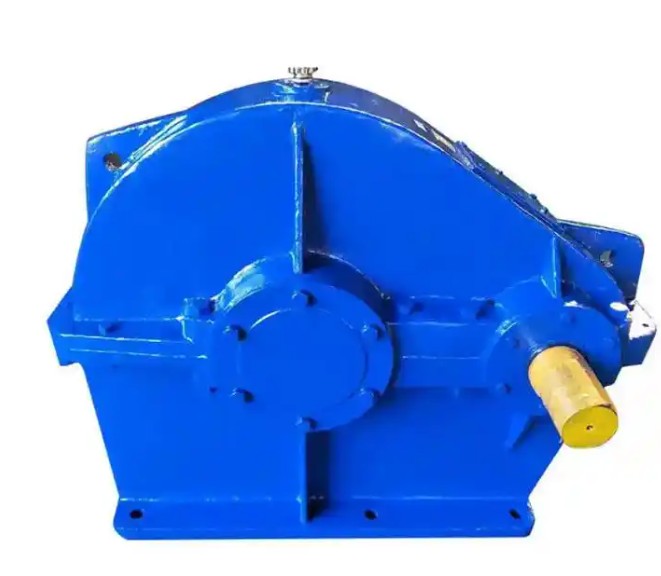
How to judge whether the ZD10-5-1 reducer needs overhaul based on the amount of gear wear
The criteria for determining the amount of gear wear in the ZD10-5-1 reducer for major repairs are as follows
1. Preparation before testing: Stop the gearbox, cut off the power, hang a maintenance sign, clean the oil stains and iron filings on the gear surface, and expose the meshing surface; Using a vernier caliper/caliper/tooth thickness gauge, inspect the tooth surface (pitch circle), tooth root, and tooth tip core of the driving and driven wheels, compare the standard dimensions marked on the gearbox factory drawings, and calculate the actual wear amount.
2. Basic quantitative judgment criteria (suitable for conventional low-speed, medium light load conditions, rated torque ≤ 100N · m): If the wear amount of tooth thickness at the tooth surface pitch circle is ≥ 5% of the standard tooth thickness, it is judged that major repairs are required; If the thinning of the tooth root is ≥ 5% of the standard thickness or if there are wear grooves with a depth of ≥ 0.2mm in the tooth root, it is determined that major repairs are required; If the wear amount of the tooth top is ≥ 1mm or the tooth top is completely ground flat with a chamfer width of ≥ 2mm, it is determined that major repairs are required; If the wear on the tooth surface is less than 5% but the uniform wear exceeds 4% and is accompanied by eccentric wear, it is directly judged that major repairs are needed.

3. Strict judgment criteria for special working conditions (adapted to continuous working system, variable load, frequent starting conditions): If the wear amount of tooth thickness at the tooth surface pitch circle is ≥ 4% of the standard tooth thickness, it is judged that major repairs are required, without referring to the conventional 5% threshold.
4. The situation where the wear amount has not reached the threshold but requires major repairs: dense needle like pitting, continuous pitting corrosion (pitting area accounts for more than 15% of the effective meshing area of the tooth surface), and peeling pits with a depth of ≥ 0.3mm appear on the tooth surface; Scratches and grooves along the tooth length/height direction appear on the tooth surface, affecting normal meshing; Microcracks appear at the root of the tooth (regardless of the amount of wear); Gear teeth break, tooth tip chipping, or adhesive or welding marks appear on the meshing surface; Due to wear and tear, the backlash of the gear mesh exceeds the standard value by more than twice, resulting in significant impact and abnormal noise during operation.
5. Supporting judgment basis: Based on the wear detection results, if the reducer is accompanied by continuous abnormal noise, excessive vibration, abnormal bearing temperature rise (>60 ℃), unstable output speed, torque attenuation, and is found to be caused by gear wear during operation, even if the wear amount of a single part is close to the threshold and does not reach the upper limit, it needs to be comprehensively judged as requiring major repairs.
6. Situations where major repairs can be postponed: tooth surface wear ≤ 3% of standard tooth thickness, no significant thinning of tooth root, tooth tip wear ≤ 0.5mm, and no abnormal wear forms such as pitting, eccentric wear, cracks, etc., with no malfunctions during operation, can continue to be used and increase inspection frequency; The wear of the tooth surface is 3% -5% (under normal working conditions) and 4% -5% (under special working conditions), with no problems such as eccentric wear or pitting corrosion. Local maintenance can be carried out, and the overall overhaul is temporarily postponed.

