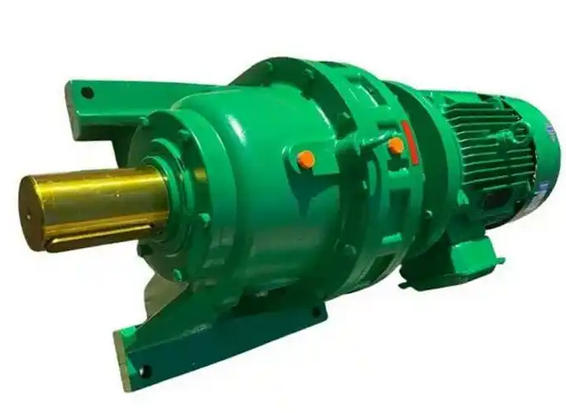
How to repair the deformed cycloidal gear of XWD8185B-87-7.5KW reducer
The deformation repair of XWD8185B-87-7.5KW cycloidal gear (commonly GCr15 vacuum quenching, 20CrMnTi carburizing quenching) should first detect and screen out cracks, and then classify the treatment according to the deformation level and defect type: mild/moderate, mainly straightening+stability+grinding/wire cutting compensation; Severe/tooth profile distortion is mainly repaired by grinding/wire cutting; The wear of the inner hole is mainly repaired by inserting/expanding the hole; If there are cracks/broken teeth/severe peeling, it will be judged as scrap and replaced to avoid forced repair leading to operational failure.
Repair plan based on deformation type and level (can be directly implemented)
1. End face warping/inner hole ellipse (slight/moderate, no tooth profile distortion)

Method: Cold pressing straightening+low-temperature tempering stabilization (preferred); Cold pressing is ineffective, and warm straightening should be used (180-220 ℃, below the tempering temperature).
Key points of operation: Special positioning bulging tire/V-shaped iron+dial gauge alignment, reverse pressure, hold pressure for 3-8min, straightening in stages to prevent overcorrection; After correction, maintain at 180-200 ℃ for 2-3 hours and temper. Re measure the end face warpage to ≤ 0.02mm and the inner hole ellipse to ≤ 0.015mm. Add soft padding to the tooth surface to prevent pressure damage.
Applicable: GCr15/HRC58-62, 20CrMnTi carburizing and quenching surface HRC60-62, deformation without excessive grinding teeth/wire cutting allowance.
2. Tooth profile distortion/tooth tip circular runout exceeding tolerance (moderate/severe)
Method: Forming gear grinding/slow wire cutting repair, compensating for tooth profile according to measured deviation.
Operation points: Scan the tooth profile curve based on the end face/inner hole to generate a compensation path; Grinding allowance of 0.15-0.3mm, line cutting allowance of 0.05-0.1mm; tooth surface roughness Ra ≤ 0.8 μ m, tooth flank clearance controlled according to the drawing; After grinding, age at 120-150 ℃ for 2 hours to stabilize the size.
Applicable: Tooth profile distortion, tooth tip circular runout exceeding tolerance, and sufficient tooth thickness allowance.
3. Inner hole wear/elliptical deviation (failure of inner hole fit)
Method: Reaming repair or sleeve repair (GCr15 sleeve hardness HRC58-62).
Hole expansion repair: Expand the hole to a new size and make a new shaft sleeve/rotating arm bearing to ensure the fit clearance and coaxiality; It is necessary to synchronously correct the position of the planetary holes to ensure that the rotation center is consistent.
Sleeve repair: Drill the inner hole to a larger size, press in the interference fit liner, finely grind the inner hole to the drawing size, ensure that the coaxiality between the liner and the cycloid wheel is ≤ 0.01mm, and the end face is flush.
Applicable: Inner hole wear, elliptical deviation, sufficient wall thickness, no cracks.
4. Slight wear/tear on the tooth surface (no peeling off)
Method: Fine grinding/honing polishing, local polishing to remove scratches.
Key points of operation: fine grinding retention of 0.03-0.05mm, honing to Ra ≤ 0.4 μ m; To avoid grinding burns, perform post grinding inspection and retesting; If the wear amount is greater than 0.15mm, the tooth profile needs to be corrected synchronously to ensure the meshing clearance.

