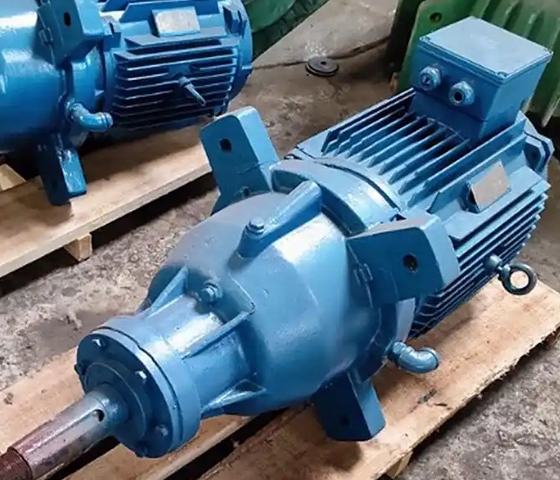
Introduce the installation method of CFD225 cooling tower fan reducer
The installation method of CFD225 cooling tower fan reducer is as follows:
1. Preparation work: Ensure that the cooling tower has stopped running, cut off the power supply, hang warning signs to prevent accidental start-up. Prepare tools such as wrenches, screwdrivers, vernier calipers, pullers, as well as clean work areas and containers for storing parts.
2. Parts inspection and cleaning: Inspect all parts for wear, damage, or deformation, and replace problematic parts in a timely manner. Clean the parts with clean gasoline or specialized cleaning agents, remove oil stains, impurities, etc., and dry them with a clean cloth.
3. Assembly of gearbox:

Installation of bearings: Install the bearings onto the shaft, paying attention to the installation direction and clearance. Tools such as copper bars and presses can be used for installation to avoid direct impact on the bearings.
Installing gears: Install the gears onto the shaft, ensuring that the installation position is correct and the meshing clearance meets the requirements. Use a vernier caliper to measure and adjust the meshing clearance.
Insert into the casing: Place the assembled shaft and gear into the gearbox casing, and install internal seals such as oil seals, sealing rings, etc. to prevent lubricant leakage.
Installation of upper cover: Install the upper cover of the reducer, tighten the fixing bolts, and pay attention to the uniform tightening torque of the bolts, which meets the technical requirements.
4. Install the gearbox to the cooling tower:
Lifting in place: Carefully lift the assembled reducer onto the installation position of the cooling tower, align it with the installation hole, thread the fixing bolts and tighten them.
Connecting components: Connect the reducer to the cooling tower drive shaft and motor coupling. Install the connecting bolts in the previously marked positions and order to ensure a secure connection. The concentricity and perpendicularity of the coupling meet the requirements and can be measured and adjusted using tools such as a dial gauge.
5. Connecting pipelines: Reconnect the previously removed oil pipes, water pipes, and other pipelines to the reducer, ensuring a tight connection and no leakage. Pay attention to checking the direction and fixation of the pipeline to avoid interference with other components.
6. Add lubricating oil: According to the requirements of the reducer, use a clean oil bucket and funnel to add an appropriate amount of lubricating oil that meets the instructions into the reducer. After adding, check whether the oil level is within the normal range.
7. Inspection and trial operation: Before starting the cooling tower, check the installation of the reducer again, including whether the bolts are tightened, whether the pipelines are connected correctly, and whether the lubricating oil level is normal. After confirming the correctness, connect the power supply for trial operation, closely observe the operation situation, and check if there are any abnormal noises, vibrations, heating, etc. Check if the oil temperature and level are normal, and if the coupling connection is reliable. If there is any abnormality, the machine should be stopped immediately for inspection, and after troubleshooting, it should be restarted until it runs normally.

