How to correctly install TPG100-8 planar enveloping toroidal worm gear reducer
As a planar enveloping toroidal worm gear reducer, the installation process of TPG100-8 needs to revolve around core steps such as preliminary preparation, precise positioning and fixation, axis connection alignment, lubrication and commissioning, in order to ensure its transmission stability and service life. The specific steps are as follows:
1. Preparation before installation
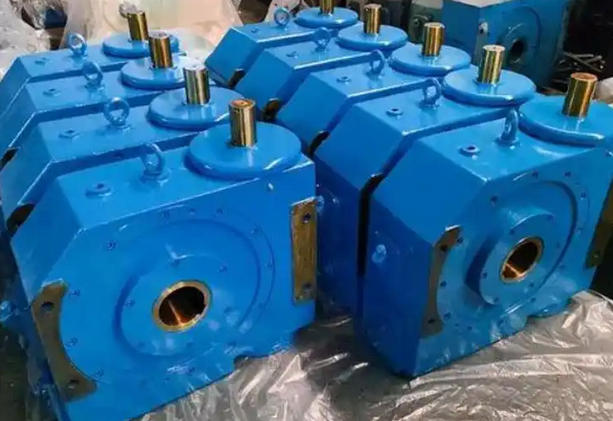
(1) Equipment and document verification: First, confirm that the model, power, and other parameters of TPG100-8 match the actual working conditions. Check that there are no cracks or rust on the housing, worm gear teeth, and tooth contact spots that meet the standards. At the same time, check whether the technical documents such as instructions and assembly drawings are complete, and strictly follow the requirements of the documents for subsequent installation.
(2) Preparation of tools and auxiliary materials: Prepare level gauges, torque wrenches, micrometers, wrenches and other tools, and ensure that the tools are intact and accurate; In terms of auxiliary materials, it is necessary to prepare suitable lubricating oil (usually ISO VG220 extreme pressure gear oil), sealing gaskets, anchor bolts, etc. If the installation environment is special, shock-absorbing pads should also be prepared.
(3) Installation location planning: Choose a flat, sturdy, and well ventilated installation location to ensure that it can withstand the operating load of the equipment and facilitate subsequent refueling, draining, and maintenance. Clean up the debris in the installation area, check the size and depth of the anchor bolt holes to match the reducer base, and prepare epoxy resin for sealing in the waterproof area.
2. Lifting and positioning
(1) Standardized lifting: With the help of cranes or forklifts, the lifting points must be aligned with the lifting ears or reserved lifting holes of the gearbox, and it is strictly prohibited to tie the shell arbitrarily. Maintain stability during lifting, avoid severe shaking, and prevent damage to internal gears, bearings, and other components. When lowering, the height should be slightly higher than the installation position and slowly fall to the predetermined position.
(2) Preliminary positioning: Align the reducer with the anchor bolt holes and place it. The base can be cushioned with shock-absorbing pads to reduce operational impact. At this point, there is no need to fully tighten the bolts, leaving room for adjustment for subsequent alignment.
3. Fixed and aligned
(1) Horizontal calibration: Use a spirit level to measure the levelness at multiple positions (such as diagonal lines) on the reducer base, ensuring that the deviation is ≤ 0.1/1000. If the standard is not met, adjust the thickness of the gasket for correction, and avoid using brute force to pry the equipment body.
(2) Tighten the foundation bolts: Use diagonal cross tightening method, first evenly tighten 50% of the pre tightening force, and then gradually apply force to the rated value to ensure that the base is evenly stressed. Recheck the levelness after tightening the bolts to prevent equipment deviation during the tightening process.